Quick Start
This guide will help you set up Interflow in just a few minutes.
ESTIMATED TIME
⏱️ 5-10 minutes for basic setup
Step 1: Create Your Account
Go to app.interflow.chat/signup to start registration.
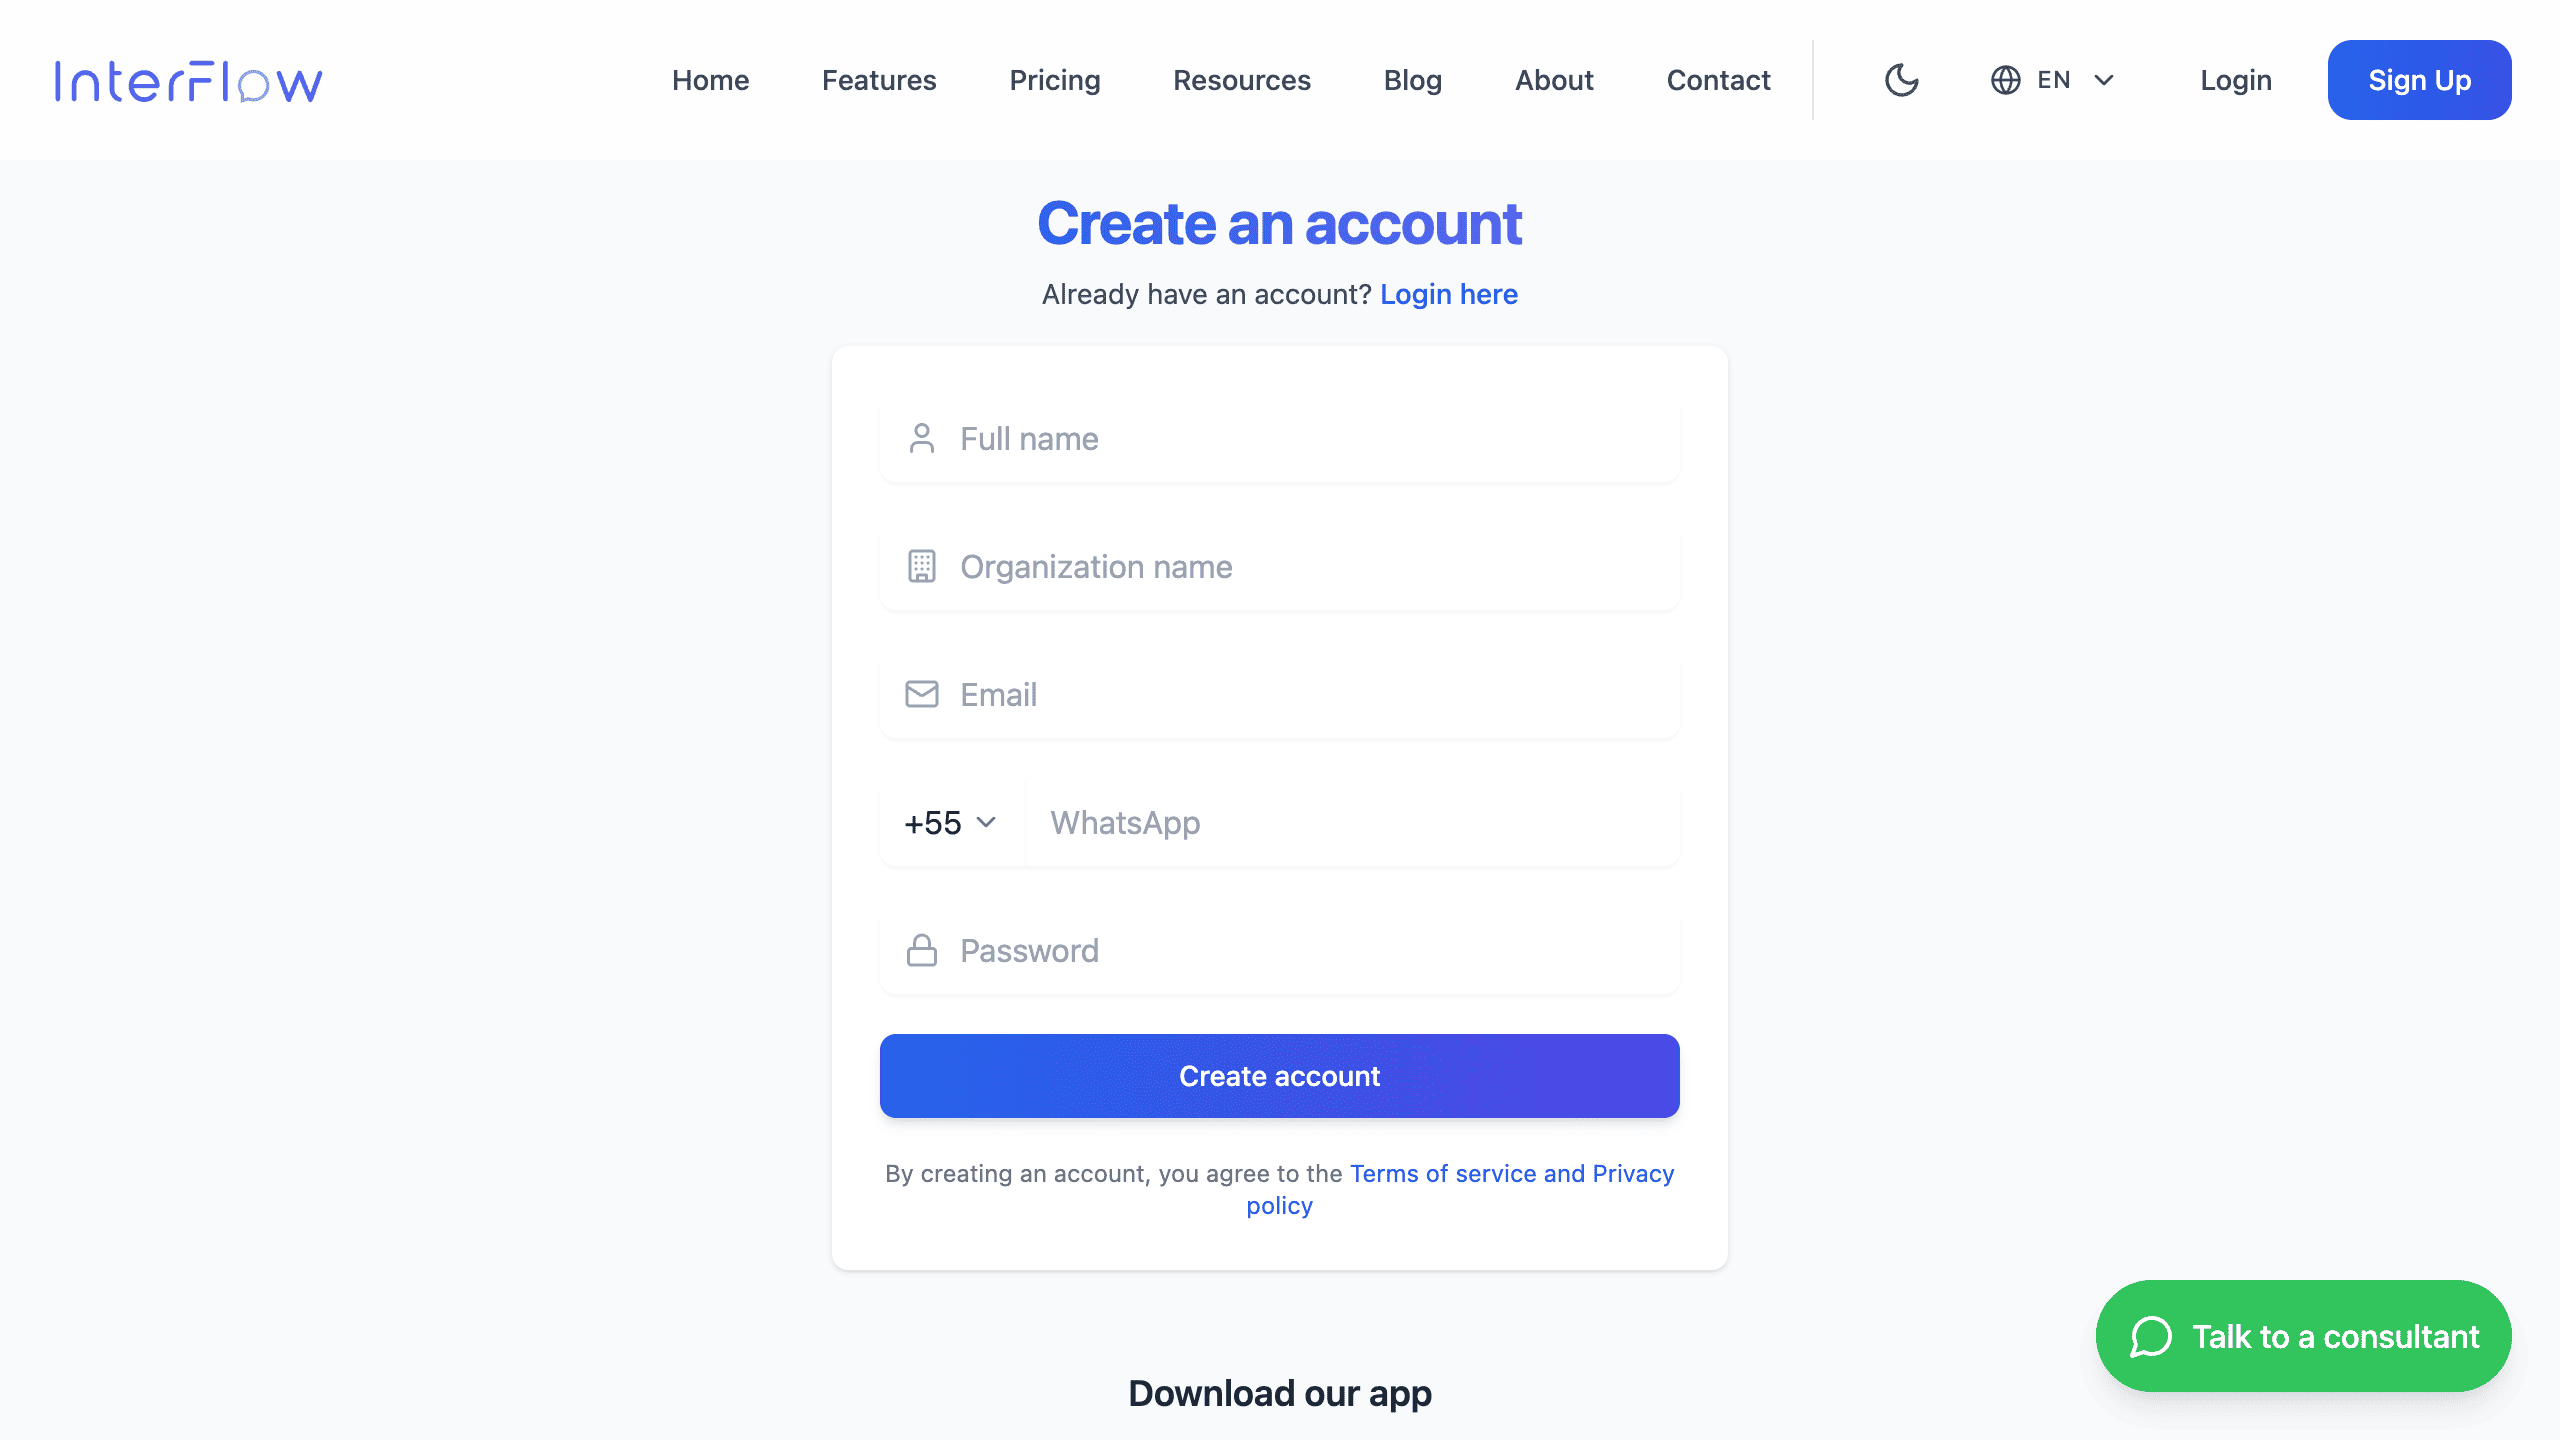
Fill in the following information:
- Full name
- Organization name (name that will appear on the platform)
- Email (will be used for login)
- WhatsApp (valid number for verification)
- Password (minimum 8 characters)
After confirming your email, you will have access to the dashboard.
Step 2: Connect a Channel
Now let's connect your first communication channel.
Available options:
WhatsApp Business API (Recommended)
Requirements:
- Verified Meta Business account
- Dedicated phone number
Advantages:
- Official and stable
- Bulk messages (templates)
- Product catalog
- Payments
WhatsApp (WAHA)
Requirements:
- Regular WhatsApp number
- Active session maintained
Advantages:
- Quick setup
- No API costs
- Works with personal number
Step 3: Configure AI Agent (Optional)
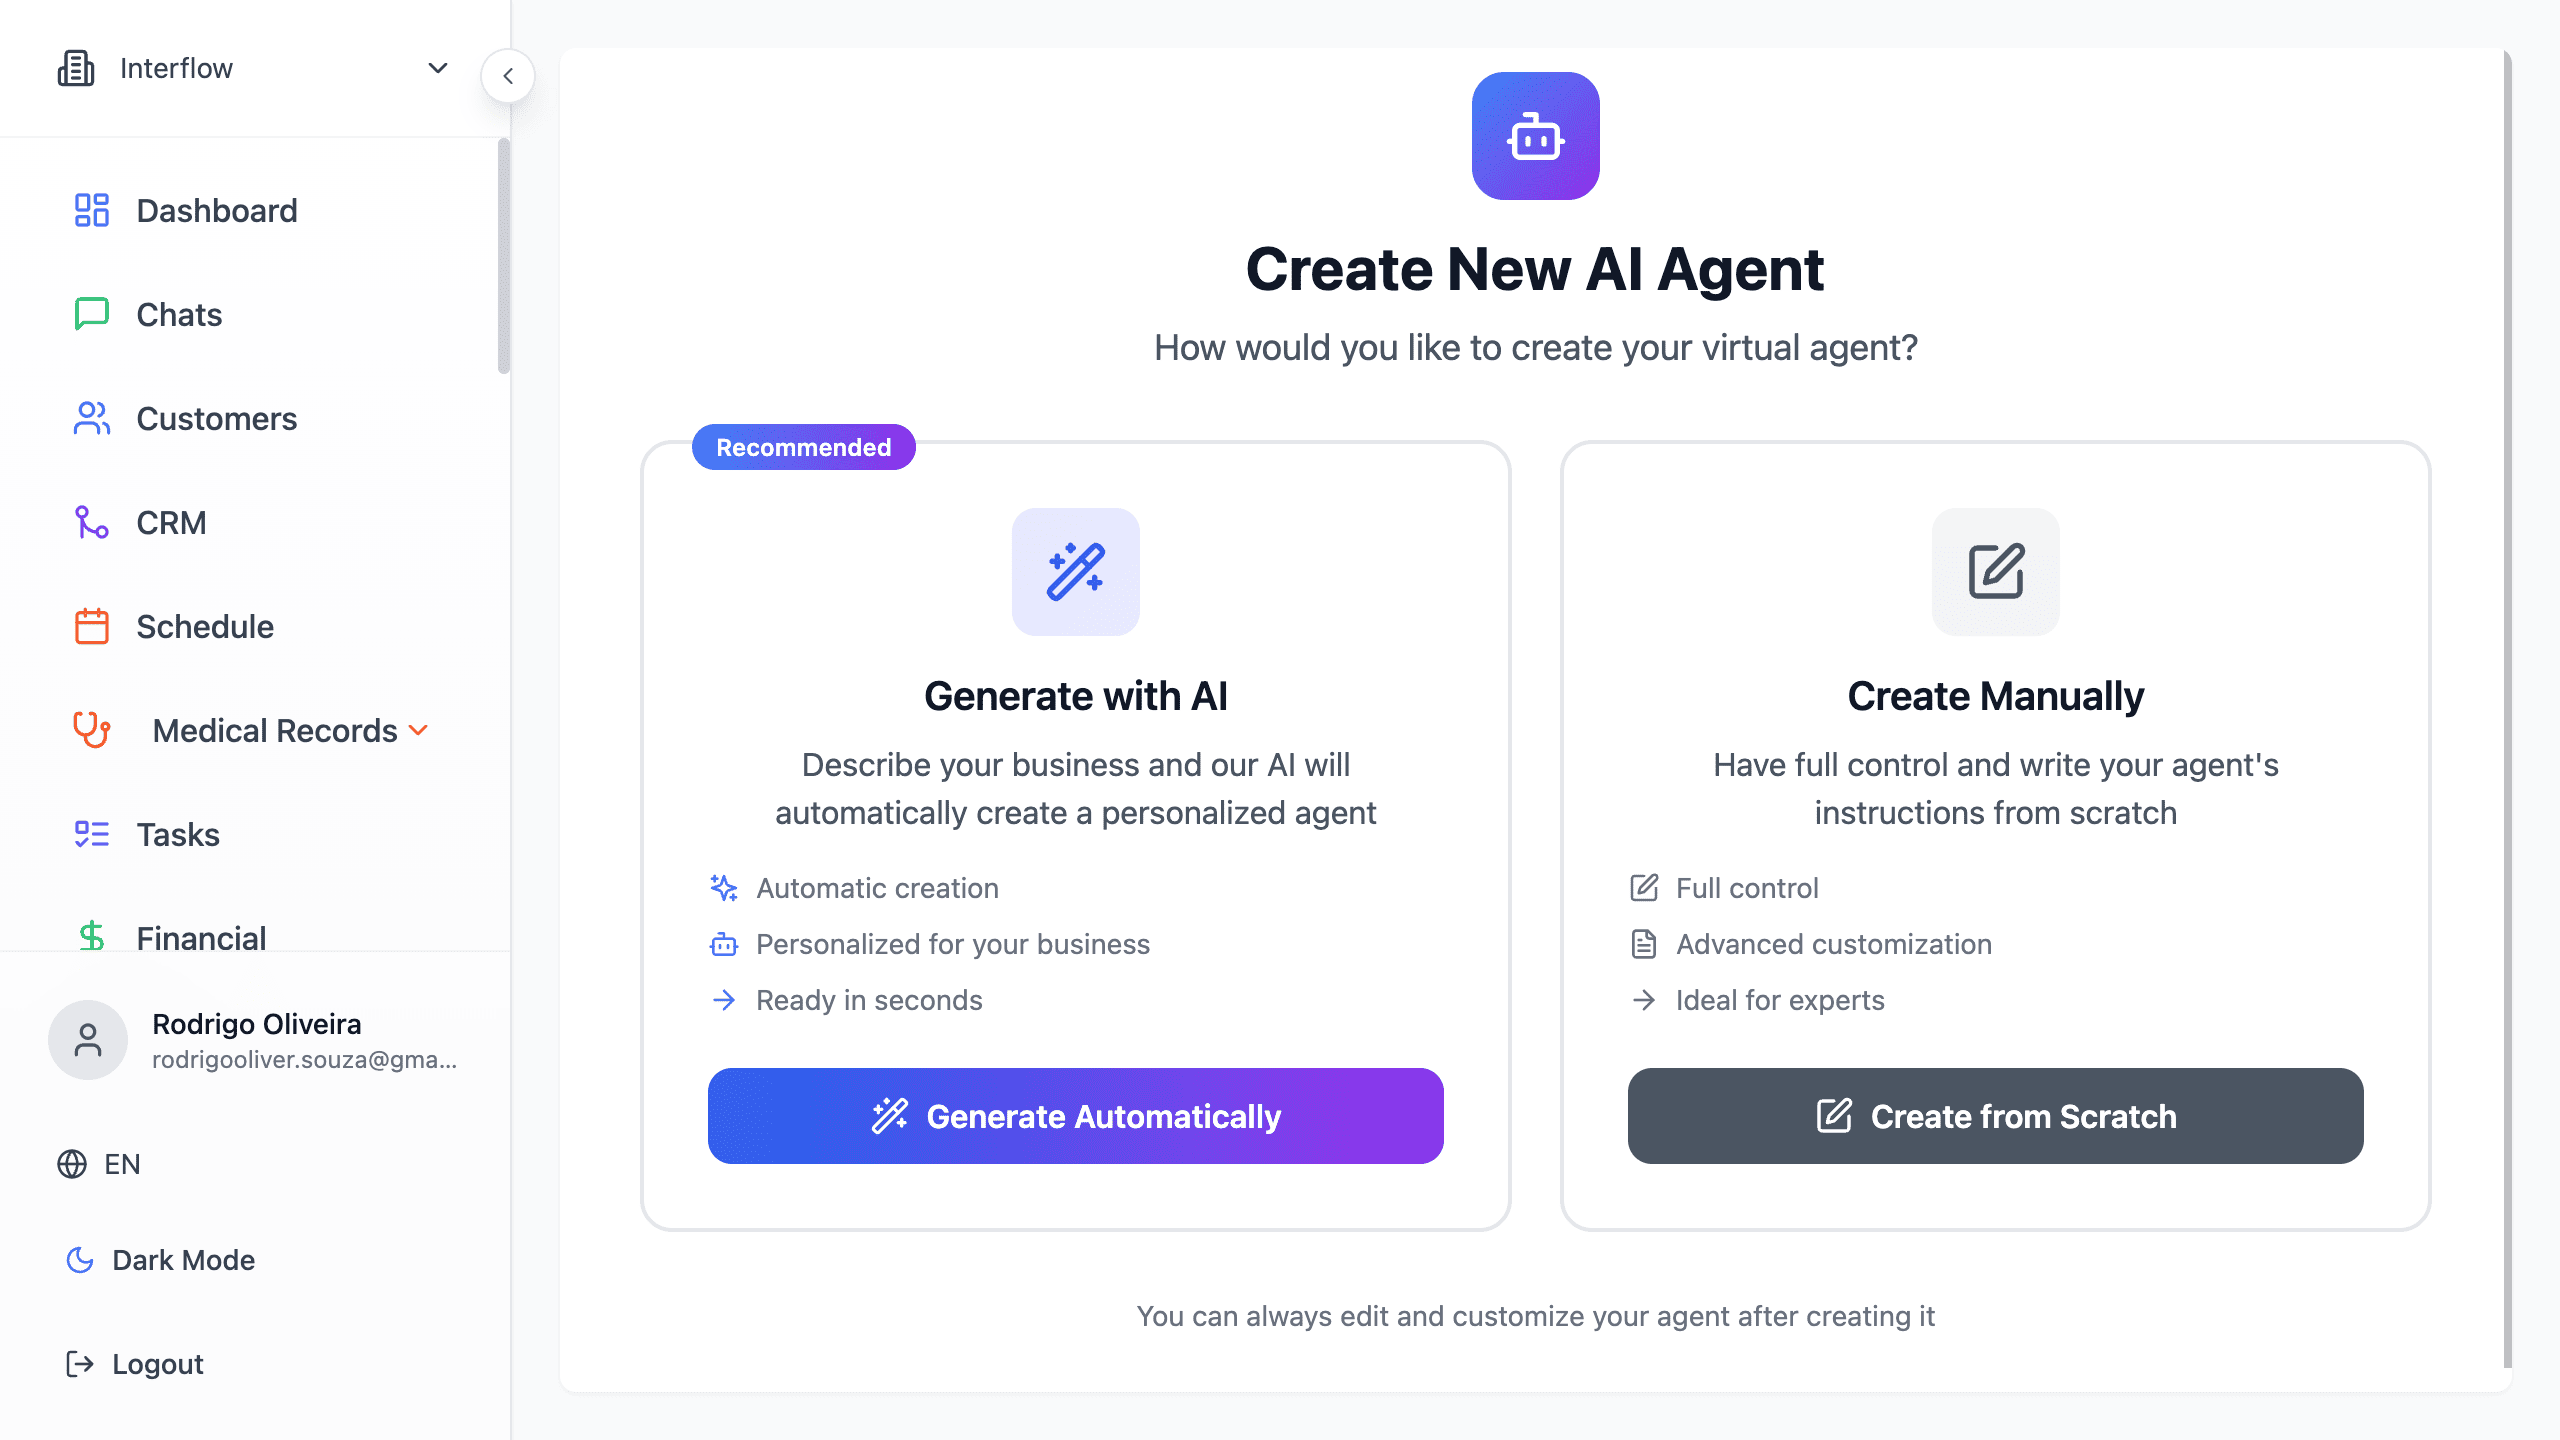
Set up an artificial intelligence agent to automate and assist with customer service.
- Go to AI Agent in the sidebar
- Choose one of the configuration options:
Creation options:
| Method | Description |
|---|---|
| Manual Prompt | Write the agent's instructions and behavior directly |
| Guided Assistant | Answer questions and let AI create the prompt automatically |
INCLUDED TOKENS
According to your plan, you have access to tokens starting from 2 million per month. If this limit is not enough for your operation, you can connect your own OpenAI account.
Step 4: Invite Your Team
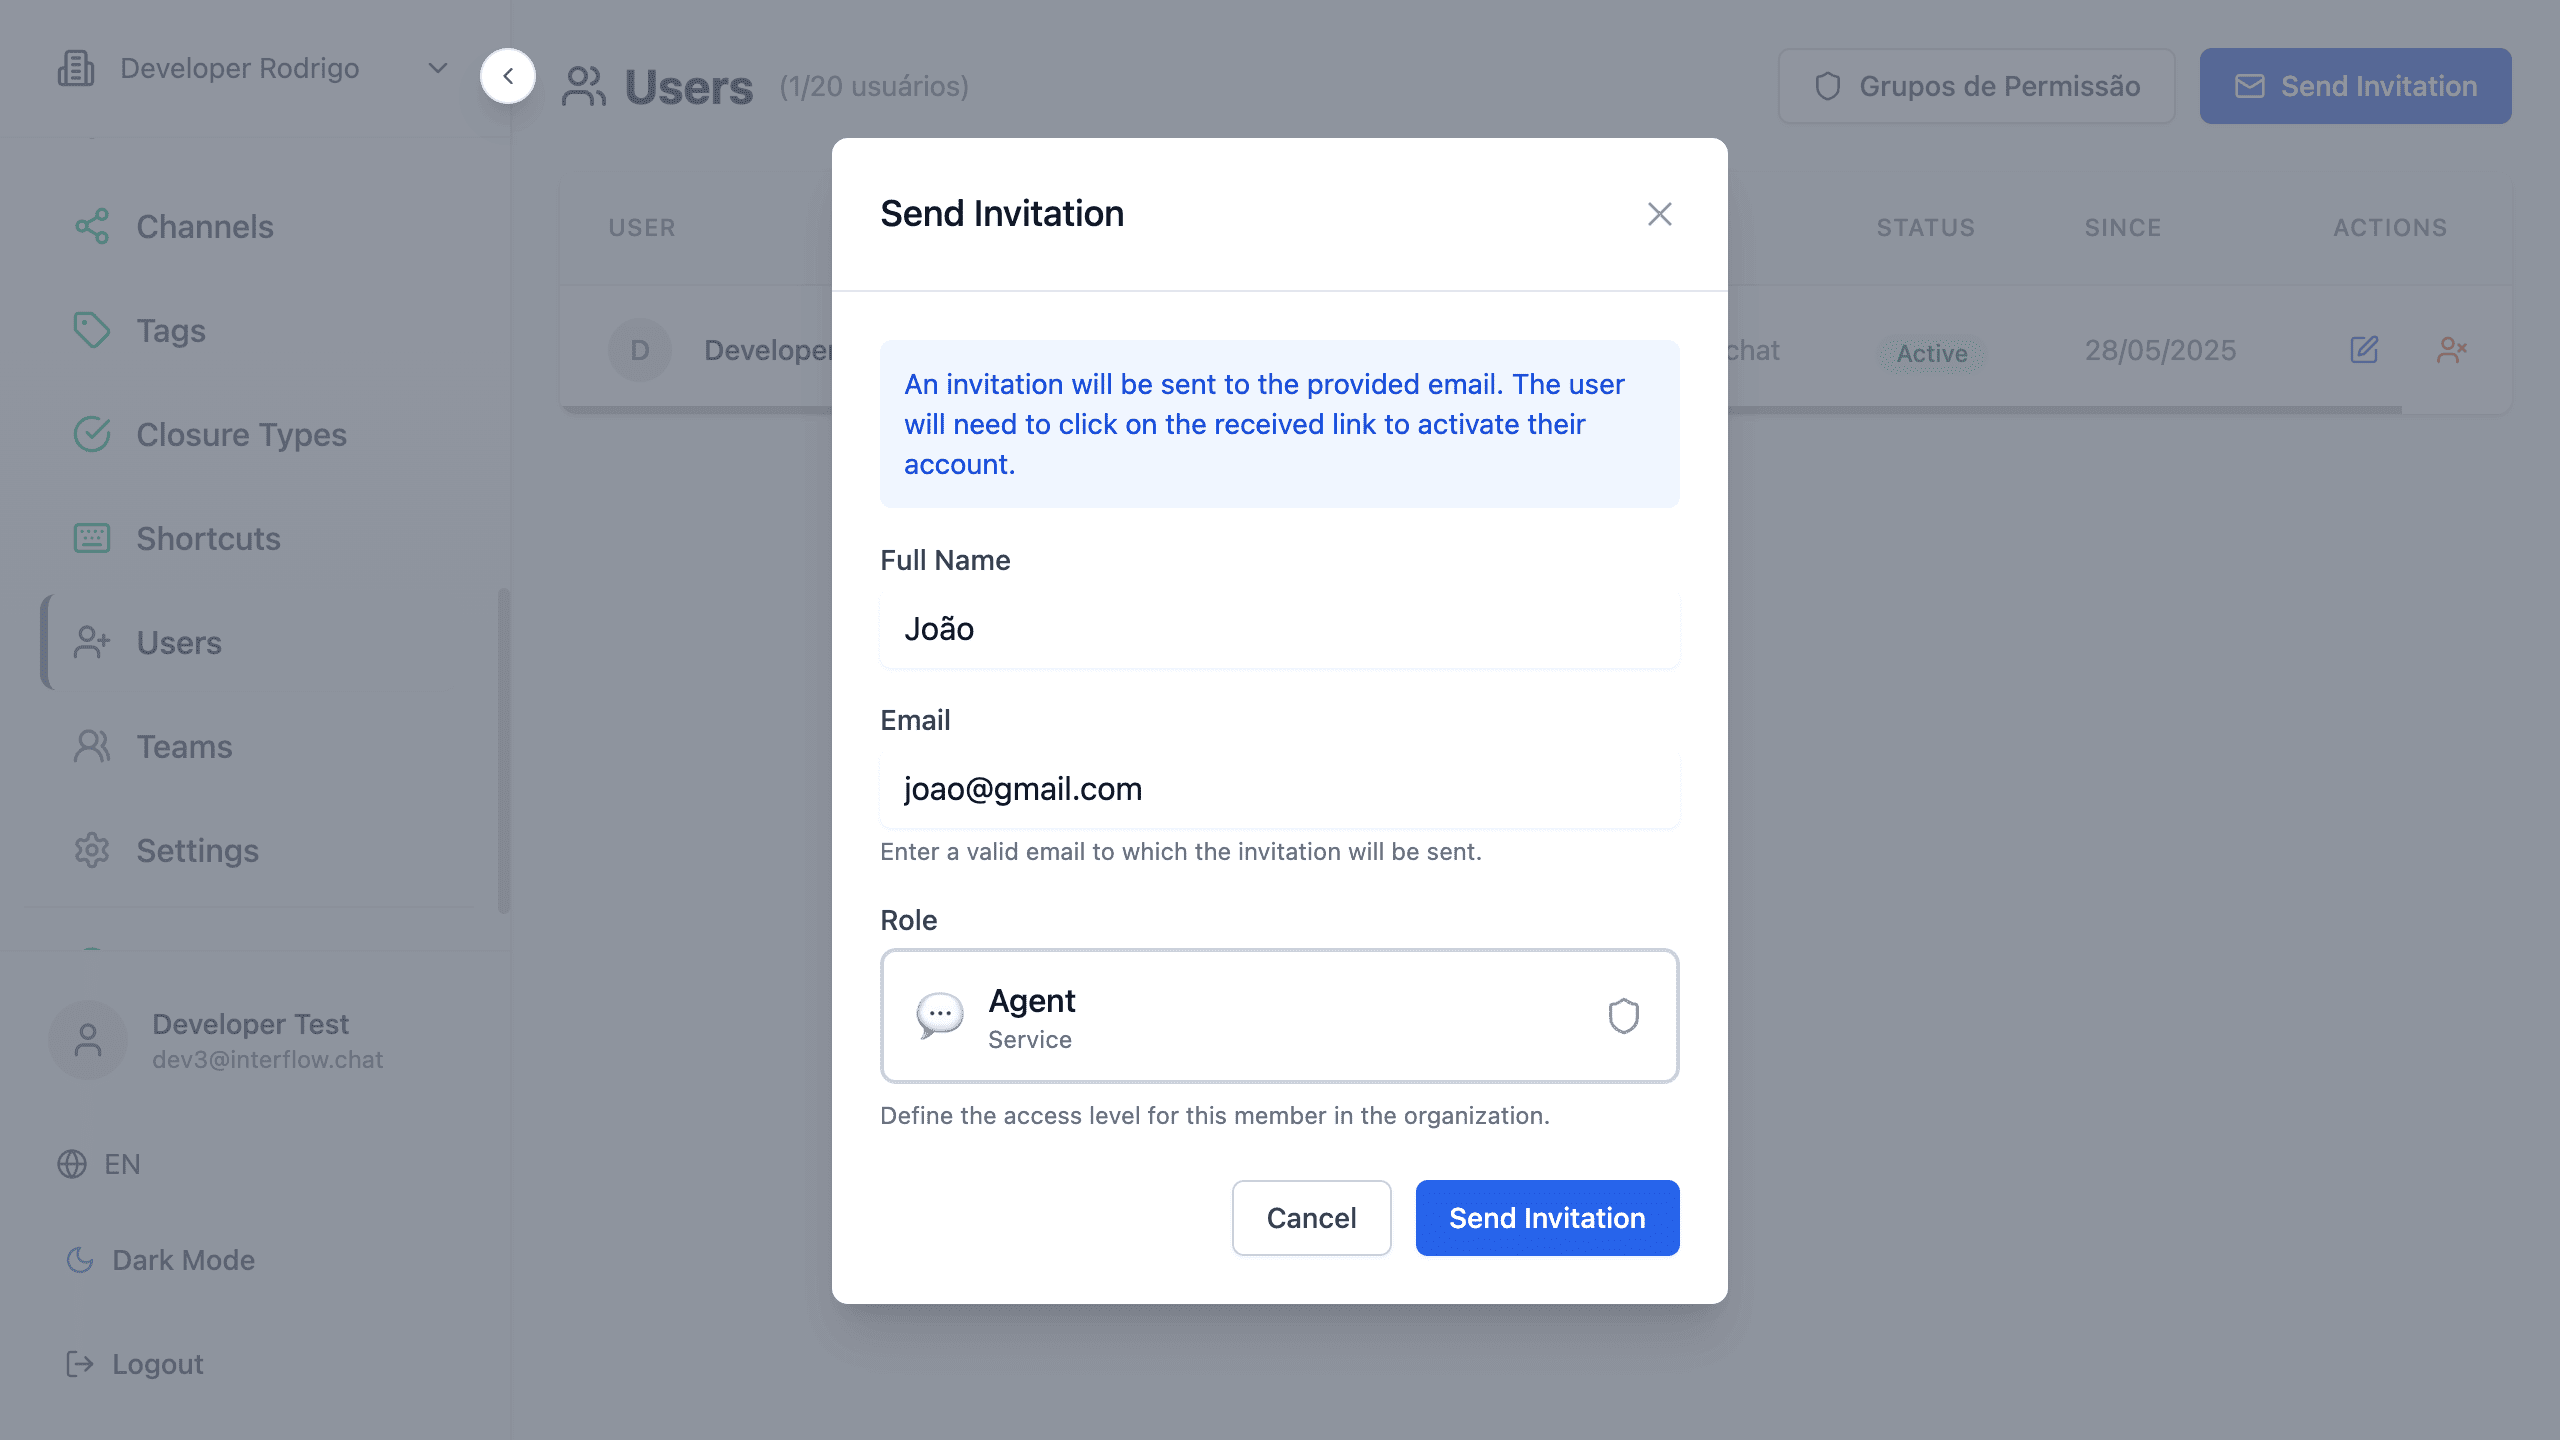
Add team members to start serving customers.
- Go to Users in the left sidebar
- Click on "Invite Team"
- Enter the email and select the access profile
Available profiles:
| Profile | Permissions |
|---|---|
| Administrator | Full access to the organization |
| Manager | Manages teams and views reports |
| Agent | Handles conversations and accesses CRM |
| Custom | Configurable permissions |
Step 5: Customize Service
Shortcuts (Quick Replies)
Set up ready-made messages to speed up customer service:
- Go to Shortcuts in the left sidebar
- Click on "New shortcut"
- Define the Shortcut (e.g.,
hello) and the message Content
AVAILABLE VARIABLES
Use variables to automatically personalize your messages:
System:
{{greeting}}- Greeting based on time (Good morning, Good afternoon, Good evening)
Customer:
{{customer.name}}- Customer's full name{{customer.firstName}}- Customer's first name
Example:
Shortcut: hello
Content: {{greeting}}, {{customer.firstName}}! 👋
How can I help you today?ATTACHMENTS
You can also add media files to shortcuts: images, videos, audio and PDFs.
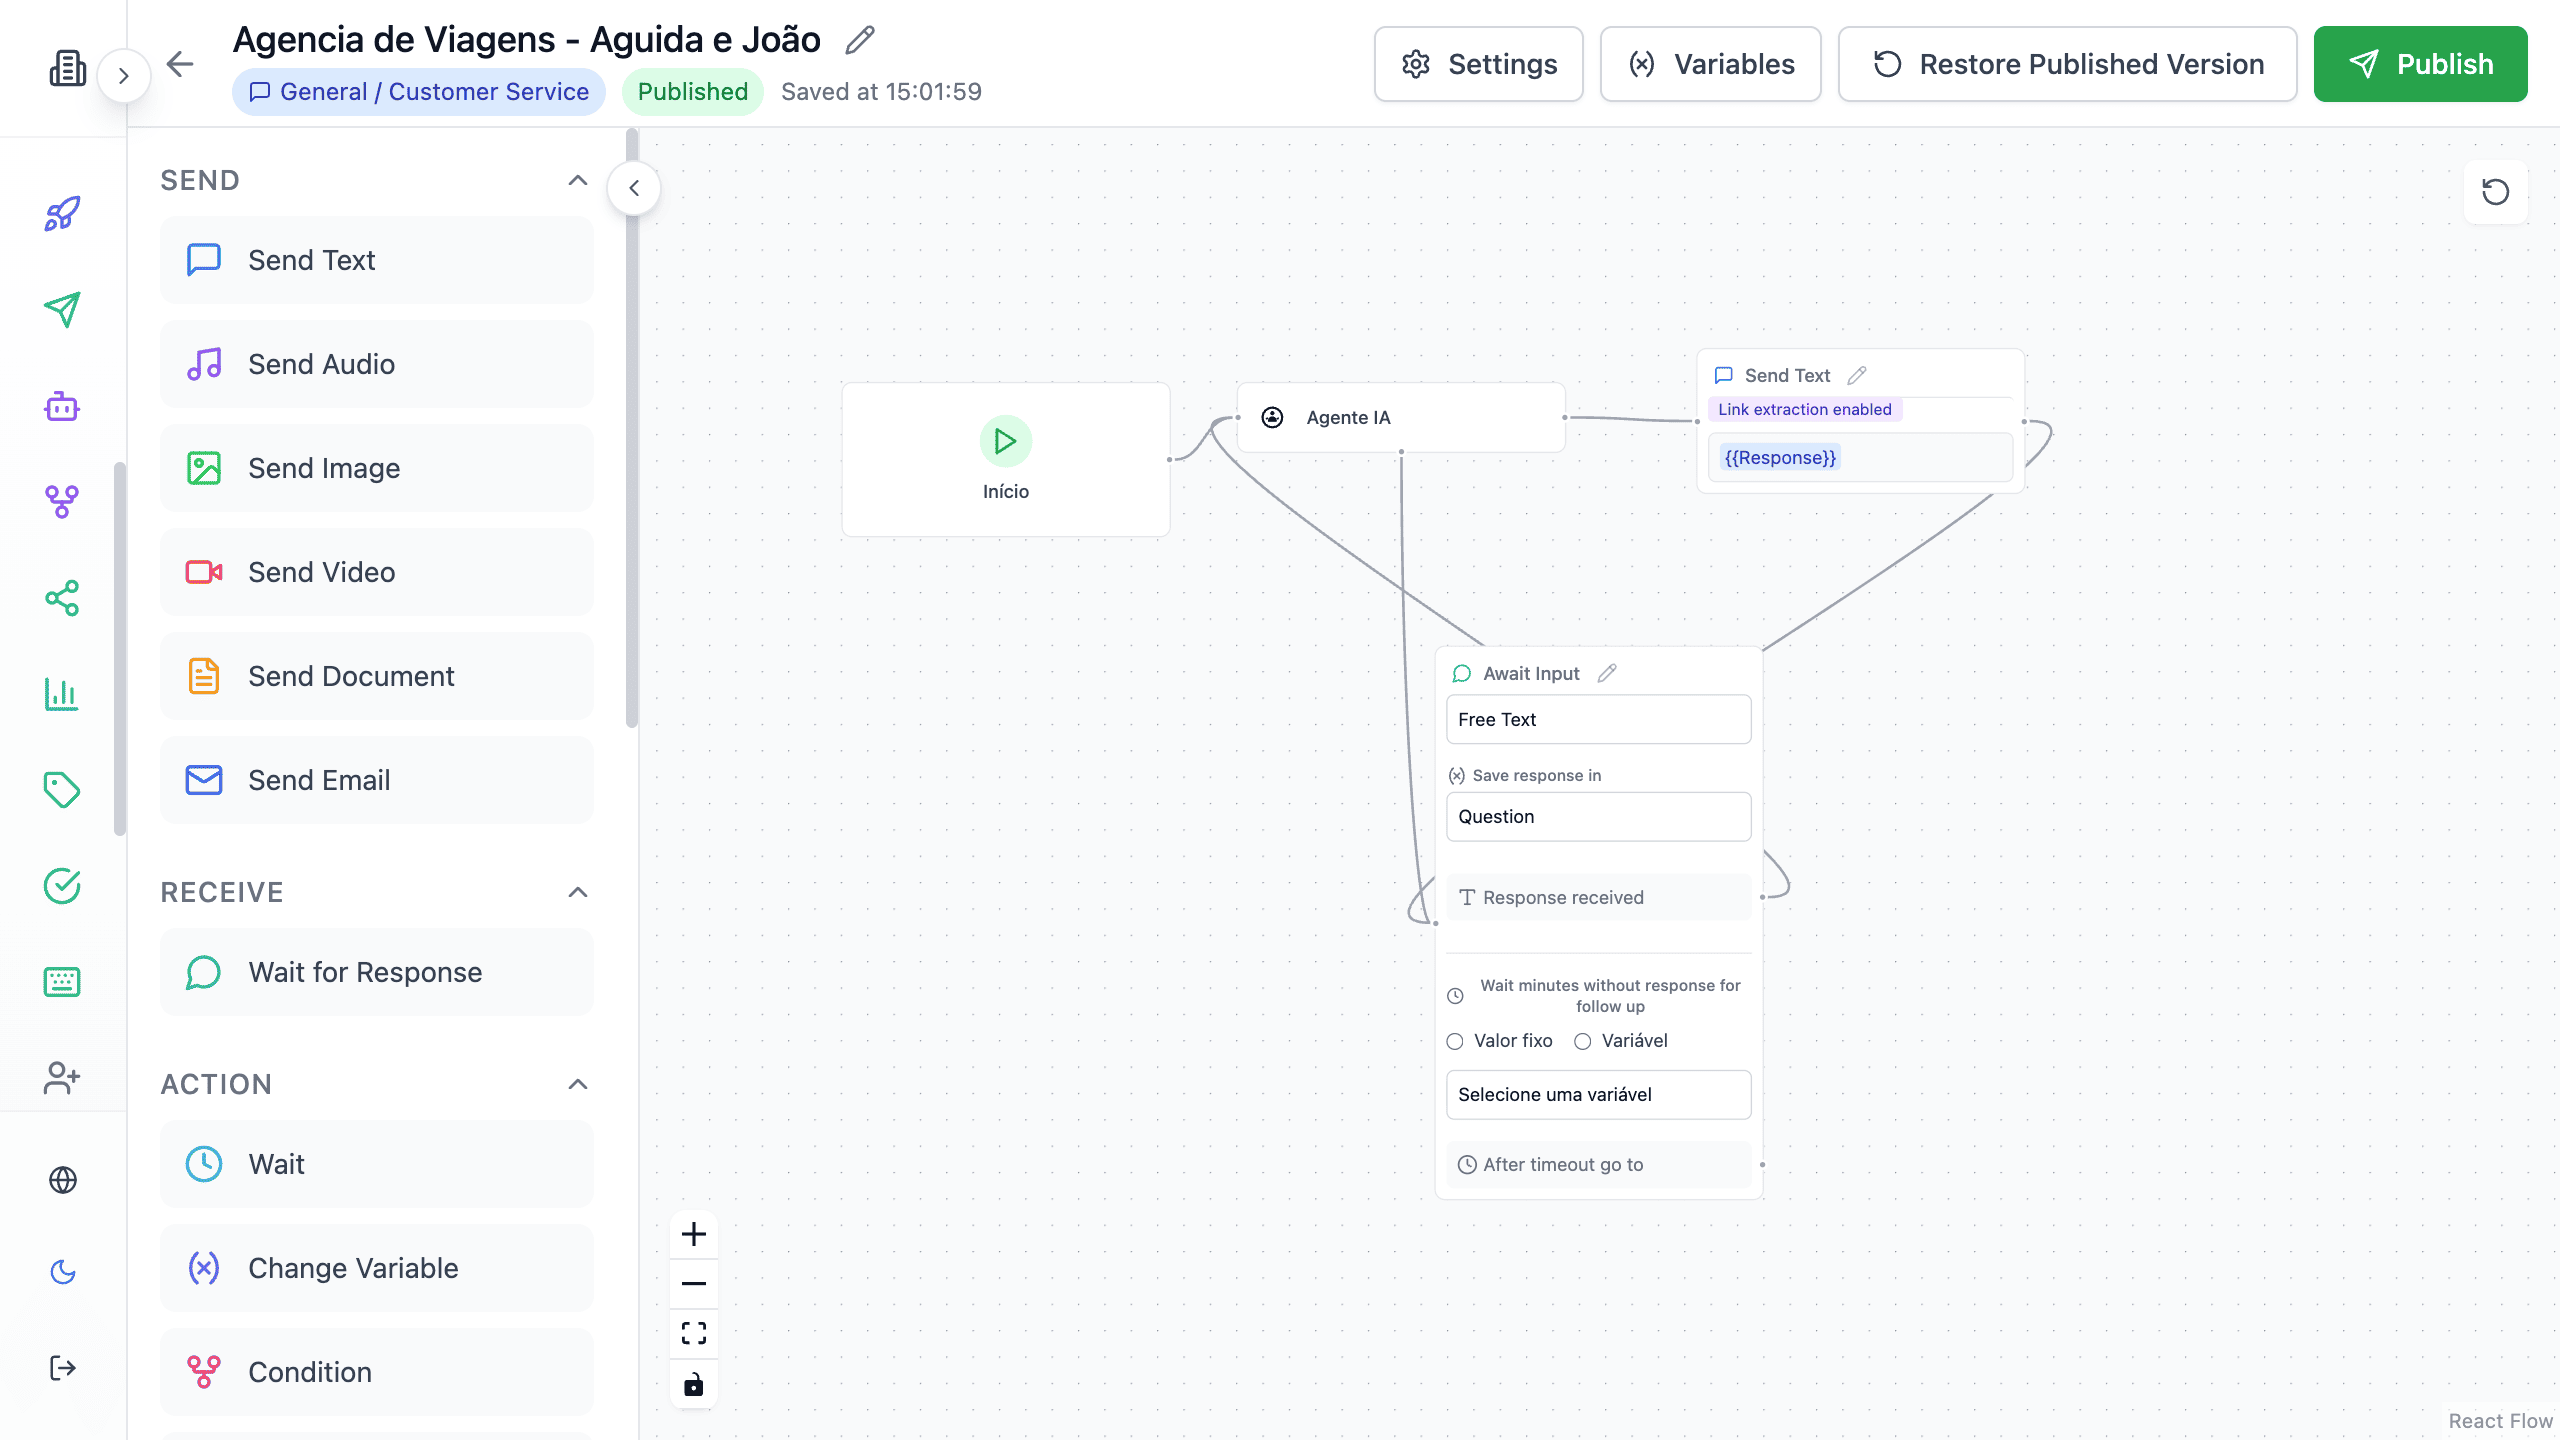
Step 6: Create Your First Flow
Automate customer service with a simple flow:
- Go to Flows → "New flow"
- Drag a "Send text" node to the canvas
- Configure the welcome message
- Use the "Transform to list" option inside the node to create a menu of options
- Connect the paths to desired actions
- Save and activate the flow
Final Checklist
Before you start serving customers, verify:
- [x] Account created and email confirmed
- [x] At least one channel connected
- [x] AI Agent configured (optional)
- [x] Team invited (if applicable)
- [x] Quick replies configured
- [x] Welcome flow created
Next Steps
Communication Channels
Connect WhatsApp, Instagram and more
Chat Interface
Learn how to use the service interface
Flow Builder
Master customer service automation
Need Help?
If you have questions during setup:
- 📧 Email: suporte@interflow.chat
- 💬 Chat: Available on the platform
- 📖 FAQ: Frequently asked questions